So you decided to start an e-commerce business.
You spent a bunch of time testing your product, choosing the packaging, working with a designer to nail down your branding, and building your online storefront.
You hit launch and wait for the sales to start rolling in as you hustle on social media and sink money into paid ads. Sure, you get a bunch of visitors and a few sales here and there, but you were expecting, well, more. Why isn’t anyone buying?
It’s easy to get discouraged. Especially if traffic isn’t the problem — conversions are. You’re getting the eyes, you’re just not getting the buys (<— That’s so corny, I gagged as I typed it. But it’s true.)
If traffic is good but people aren’t actually buying your product, 90% of the time it’s an image problem.
Your photos, videos and other visual cues just aren’t sealing the deal with potential customers.
But over the years, I’ve discovered 6 proven ways to increase ecommerce conversions simply by tweaking your product images, and I’m sharing them all in this post.

How to increase ecommerce conversions by tweaking your photos
1 | Improve the Quality of Your Photos
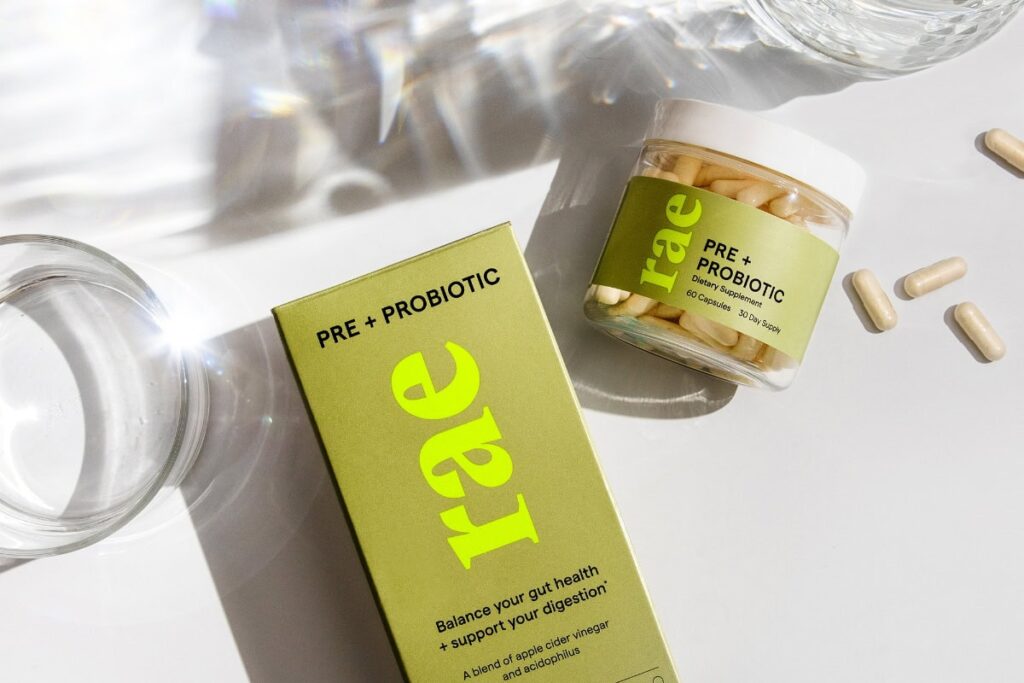
You’re probably tired of hearing photographers yammer on and on about photo quality. But there’s a reason the product photography sector exists in the first place: high-quality photos sell.
And the numbers back this up: When deciding to make a purchase, 75% of online shoppers rely on product photos as the deciding factor [source]. Online shoppers also say that product image quality is more important than product information, a detailed product description or customer ratings and reviews [source].
It makes sense, doesn’t it?
Sales are a form of social proof. And a company that’s making sales can afford to hire professional photographers to take their photos.
So what can you do to boost your image quality and increase ecommerce conversions?
- Shoot at 300 dpi resolution. Resolution is incredibly important. Yes, you’ll be posting the photos online. And yes, you’ll be compressing them before posting them. But if you do it right, a compressed 300 dpi image still looks sharper and more professional than a lower resolution photo—and your customers can tell.
- Stick with artificial lighting. Lighting changes throughout the day. So if you’re shooting photos by a window, your each photo will look different as the sun moves across the sky and cloud cover changes. Whether you prefer continuous or strobe lighting, make sure to use the same light at the same brightness and temperature each time.
- Use a prime lens. Don’t use your iPhone and don’t use the kit lens that came with your camera. Instead, use a DSLR with a prime lens (this one is my go-to). Unlike zoom or kit lenses, prime lenses use higher quality glass and coatings, which enhance clarity and sharpness, reduce chromatic aberrations and improve color accuracy. They also also allow you to get that highly-coveted blurry background, which sets professional images apart.
2 | Choose a Style and Stick With It
Have you ever been to an online shop where none of the photos look or feel the same?
Having chaotic or inconsistent images automatically lowers a shop’s conversion rate.
That’s because the brain craves symmetry and order. Without it, your eyes don’t rest for too long on any one image or product, so your brain doesn’t have a chance to understand what it’s looking at—and that’s stressful. So rather than figure it out, shoppers simply leave without buying.
Here are some ways to keep your product photos uniform:
- Pick 1-2 backgrounds in similar colors. A lot of e-commerce stores only use white backgrounds for their product shots. Not only does this keep shoppers’ attention focused on the product itself, but it keeps the page from looking cluttered. If you have more of a lifestyle brand and would like to add interest to your photos, stick with 1-2 simple backgrounds in similar colors (Anthropologie does a great job of this.)
- Remember your white balance. Unless you change your settings, cameras automatically adjust the white balance depending on the predominant color in the photo. That means you may need to keep an eye on the white balance in post-production to ensure that the product color is accurate and all your photos look the same.
- Crop your photos the same way. Make sure to keep the product centered and the same relative size across all photos.
3 | Show the Product from Multiple Angles
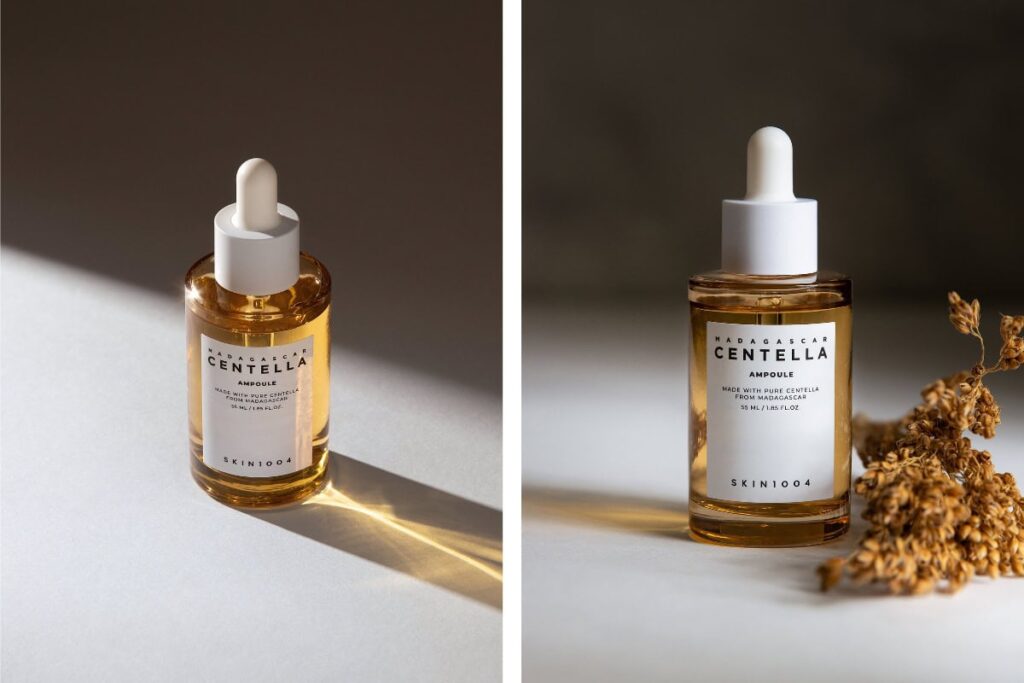
Since online shoppers can’t hold a product in their hot little hands, they rely on the pictures to tell them what they’re getting. And while you may not think it’s important (it’s just a bar of soap!), if shoppers don’t yet know and trust your brand, they’ll need a lot more visual information before making a purchase.
To increase ecommerce conversions, use photos to show customers how big the product is, what the exact shade or color is, how it looks on, and what it feels like.
- Show all possible angles. Even if you don’t think you need it, show the product from as many angles as possible: back, front, bottom and top. As a personal example, I recently bought my husband a really nice wallet for his birthday. And although the product photos were thorough (and very professional, imo), they didn’t show me how thick the wallet was—and that was nearly a deal breaker. You want to keep things like this in mind when thinking of different angles for your photos.
- Take close-up shots. Include close-ups of important details like fabric texture, stitching, or intricate designs.
- Show off any special features. If your product does something other products on the market don’t, use photos to show what that looks like and how it works.
4 | Show Off What’s Inside the Package
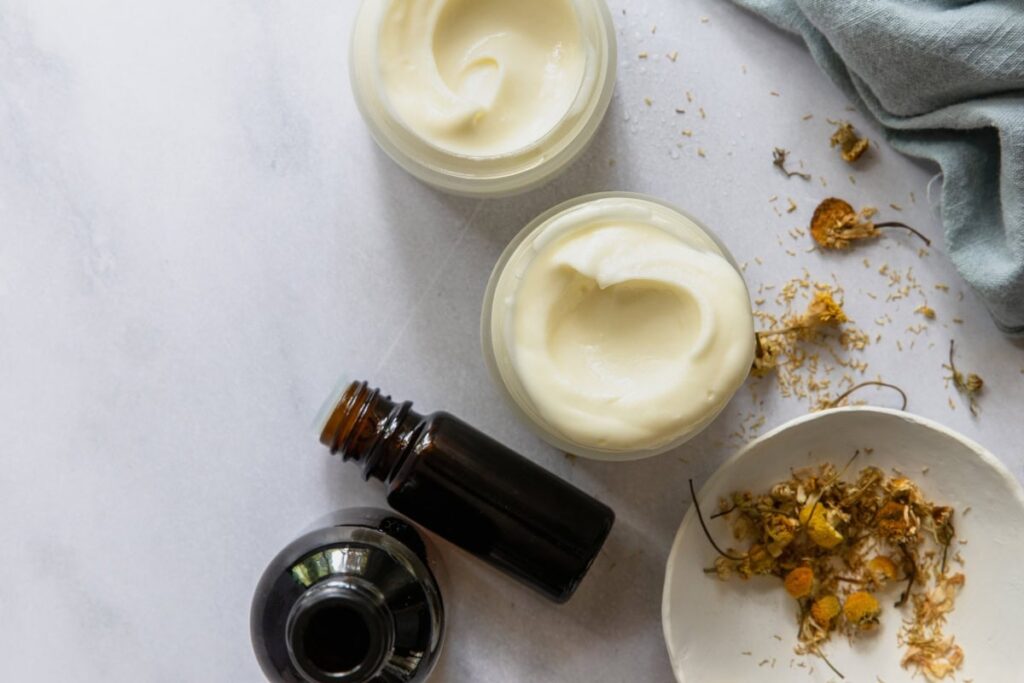
This pertains mostly to the beauty and wellness brands I shoot, but make sure to show what’s inside the bottle. Customers want to know what that lotion looks like, how heavy it will feel, and how it might look on their skin before pulling out their credit card.
To get the best texture shots:
- Use soft, directional light. Soft lighting ensures that there are no harsh shadows and reflections that might drown out the texture or finish. And lighting that comes from an angle helps to highlight the texture and consistency of the product.
- Choose a simple, neutral background. A clean, neutral background will keep the focus on the product. White or light-colored backgrounds work well for most beauty products because they don’t create a color cast and they’re easier to edit for color accuracy.
- Show off the consistency with some product swatches. Take some of the product and use the back of a spoon to swipe it onto the background. This is particularly important for tinted products or those with shimmer. For liquid products, show a drip or dollop of the product to give customers an idea of its texture.
5 | Show the Product In the Wild
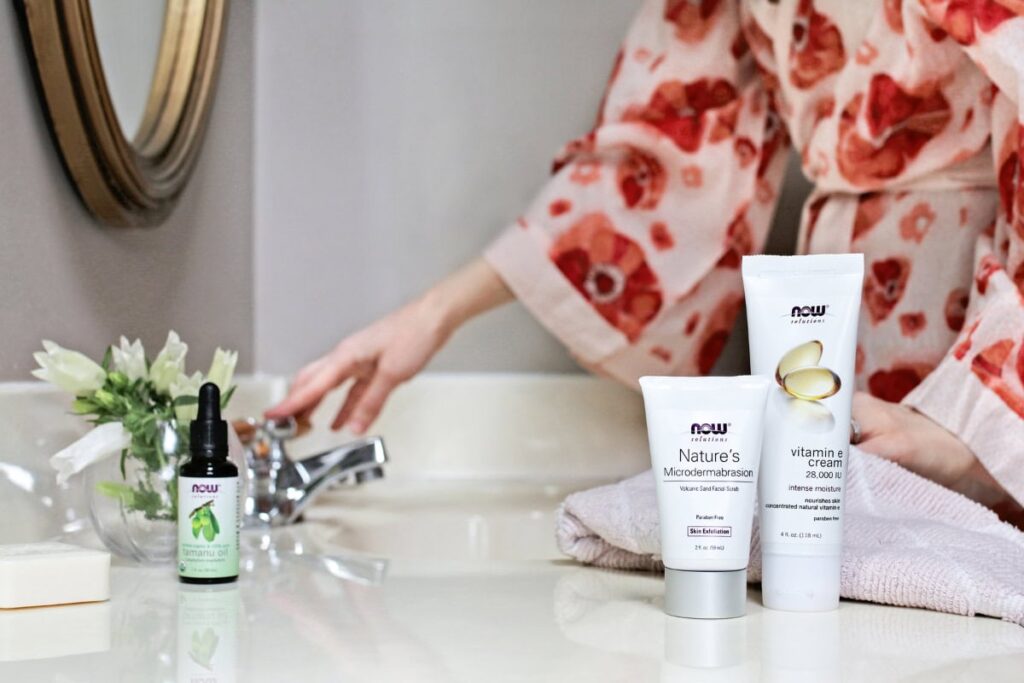
Lifestyle photos help increase ecommerce conversions by giving context to the product and help customers envision it in use. It also makes products look more appealing than a simple photo on a plain background.
I don’t usually recommend using lifestyle photos as the main thumbnail picture in your store. But it’s a great thing to have in the line up when a customer clicks on a product to get more info. They’re also great for social media, email, and other marketing channels.
Make sure to:
- Include props for scale. Include 1-2 objects in the photo that help give shoppers a sense of scale.
- Show the product on a model. If the product is something you wear, always have a photo showing it on a model. It’s not enough to just see the design or color, most customers need to know how it looks on a living, breathing person before they’re willing to buy.
6 | Color Correct Your Images
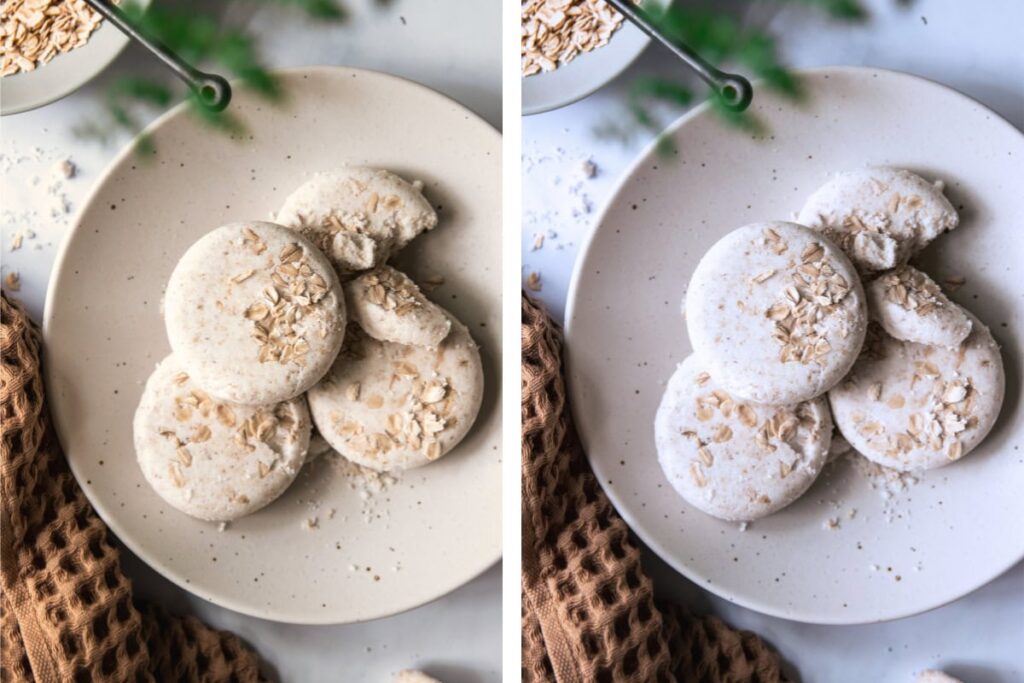
One of the biggest reasons customers return a product is because it looks different in real life than it did in the photos.
Capture the most accurate colors you can in-camera. Then triple check your photos in post-processing to make sure that the colors in the picture accurately represent the product to keep returns to a minimum.
Here’s how:
- Shoot in RAW. RAW files contain more color information and provide greater flexibility for color correction in post-processing than JPG files.
- Use professional photo editing software. Professional editing software, like Adobe Lightroom, Photoshop, or Capture One, offers advanced color correction tools that let you correct certain colors while leaving others alone.
- Check the final image on multiple devices. After color correcting my photos, I upload them to the cloud and view them on multiple devices. While I don’t expect the color to look exactly the same everywhere, I make sure that the general tone is accurate (is the product warm or cool, red or green?)
Want a photographer who has experience creating brand photos that boost conversions? I have a few spots still open for this year. Request more information about working together.
