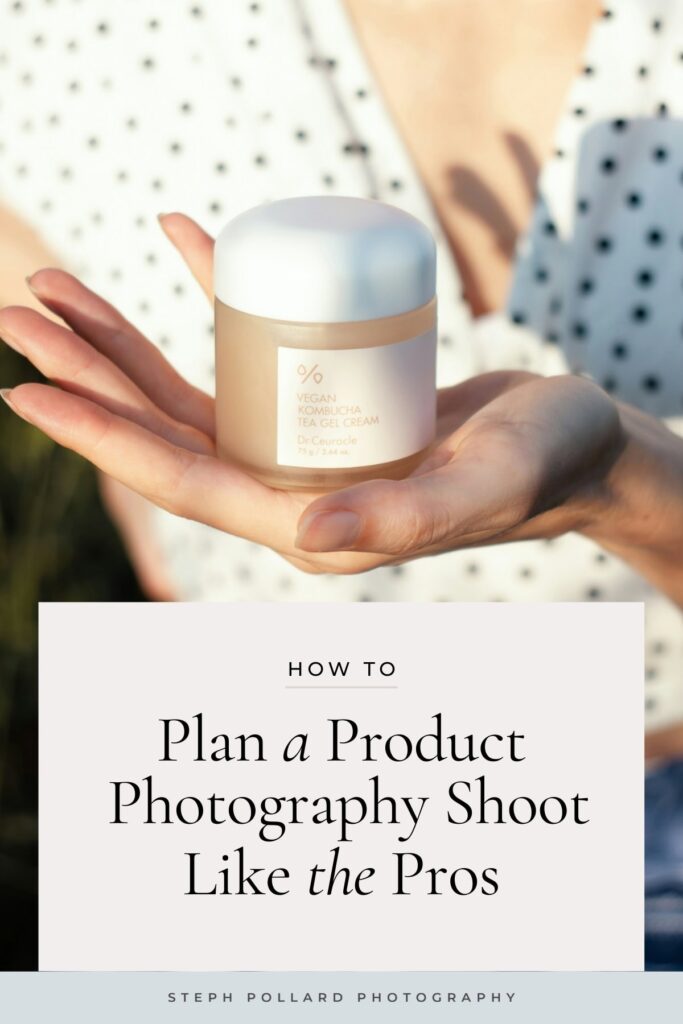
Every photoshoot is different. But even so, I always plan a product photography shoot the same way, no matter what brand I’m photographing or how involved the client is.
Having a thorough plan does 4 things:
- It helps me make sure that the brand’s story and ideal customer are at the heart of every image
- It allows me to research and brainstorm with the client so we’re both on the same page
- It ensures that the shoot goes smoothly and the client receives all the images they need (and paid for!)
- It keep re-shoots to a minimum, which keeps clients happy
And yes, even if a client reaches out to me with a creative brief and mood board in hand, I always go through this same planning process.
As a photographer, understanding a brand’s ‘why’ is just as important as understanding their ‘what’.
And that’s exactly what this planning process helps me do: infuse a brand’s images with personality and visual cues that encourage customers to buy.

How to Plan a Product Photography Shoot Like a Pro
1 | Creative Brief
Even before a client officially books with me, I’m laying the groundwork to start planning their shoot. As soon as someone inquires with me, if I think they might be a good fit I give them two ways to continue the conversation.
Clients can choose whether to:
- Fill out a client questionnaire. If the client knows exactly what they need, the like my work and they just wants to know how much it will cost, this is a great option.
- Have a discovery call. This lets us discuss the project more fully and get any questions out of the way without a lot of back and forth via email. I ask a lot of the same questions in the discovery call as I do in the client questionnaire. But for some clients, they prefer to hash out the details over a the phone than write it all out.
The main point of both of these is to start fleshing out the Creative Brief.
A Creative Brief essentially lays out the scope of the project, such as the vision, goals, deliverables and creative direction, all in one place.
Once I know exactly what the client needs and what that might entail, I can give them a price quote and send over a contract.
2 | Shoot Details
Once the client has said yes, paid the invoice and signed the contract, it officially kicks off the Pre Production stage. This is where the bulk of the planning happens and this stage typically makes up 50-60% of the total project.
Based on the information provided in the Creative Brief, I start planning their product photography shoot visually using Milanote.
Before diving into the visual aspects of the shoot, I make sure to summarize all the important details I’ve gathered from the Creative Brief, discovery call, emails and any other points of contact.
This includes things like:
- Date of shoot
- ETA of photos
- Location
- Deliverables
- Ideal customer information
- Creative direction
3 | Shot List
Next, I plan the shot list.
This is where I list out every single one of the photos that will be taken during the shoot. I also make notes on important details I don’t want to forget, such as angles, compositions, and any special features to highlight.
Having everything laid out helps maintain consistency and organization throughout the shoot. It also makes sure the client and I are on the same page from the start.
The shot list usually includes:
- Which products are being featured
- The total number of photos needed
- How many images of each product
- What products need to be shot together
- What shouldn’t be shot together
- Landscape and portrait orientation requirements
- Zoomed out or detail shot requirements
4 | Creative Concepts
Based on the shot list, I then go into more detail about each of the photos.
When planning product photography shoots, I don’t personally detail every single photo down to a sketch or inspiration image in my Milanote Pre Production Board. But I do like to have a loose idea of what each shot should include, so I make a few notes to help guide me on shoot day.
This typically covers things like:
- Photo orientation (portrait or landscape)
- Colors
- Props
- Lighting
- Plants
- Textures or materials
- Features to highlight
5 | Props and Backgrounds
Lastly, I make a hard plan for the props and backgrounds I need to make the shoot come alive.
I go through each of the creative concepts and list out the props I’ll need, what I already have on hand, and what I’ll need to purchase (following client approval). I also make notes on price and shipping speed to ensure that the project wraps up on time and on budget.
6 | Client Approval
Once everything is mapped out, I make sure to get client sign-off before starting the project.
As a rule of thumb, I ask that the Pre Production Board be approved 2-3 weeks before the shoot day. This ensures that there’s plenty of time to buy needed props, source supplies, and make final preparations.
Want to learn more about how I can plan a product photography shoot for your brand? Let’s chat.