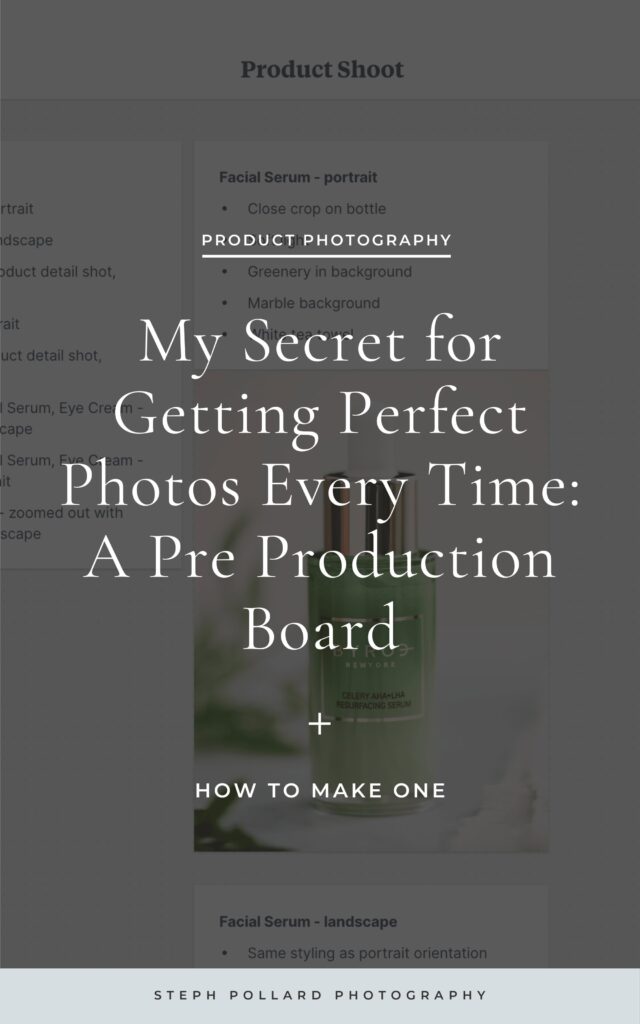
The most important deliverable in any product photography shoot is the pre production board. It lays the foundation for every shoot and ensures that the client and I are on the same page before I ever take a photo. Here’s a sneak peak at what goes into mine.
Whenever I speak with new or prospective clients, they’re always a little shocked by the estimated timeline I give them in our initial call. Most brands want their photos done by, oh, this Friday. And they’re a little taken aback when I tell them it’ll be more like 6-8 weeks from initial contact to final photos.
Why so much time? Pre production.
This is where I get to know your brand, compile all the details from several different points of contact, put together a shot list, gather inspiration, and break down every photo.
Then I put it all together in a Pre Production Board so we can both see how all the moving pieces fit together, complete with links, inspiration images and cost breakdowns.
Between planning every aspect of the shoot and going through a couple rounds of revisions, it takes a lot of time.
But laying this solid foundation beforehand is vital for creating trust in the client/creator relationship and for ensuring that nothing gets missed in the planning phase. In fact, it’s so important that once the client and I agree to the board, I have the client sign off on it and lock everything in before ordering props or taking any test shots. It’s almost like a contract that we’re both bound to stick to throughout the rest of the project.
Now onto the good stuff…
How I Put Together a Pre Production Board
I use Milanote to create my board (if you don’t have an account, you can sign up for free to get started.) Then once it’s built, I ask the client to sign off on it so we’re both on the same page and I can start shooting the photos. Easy peasy.
1 | Shoot Details
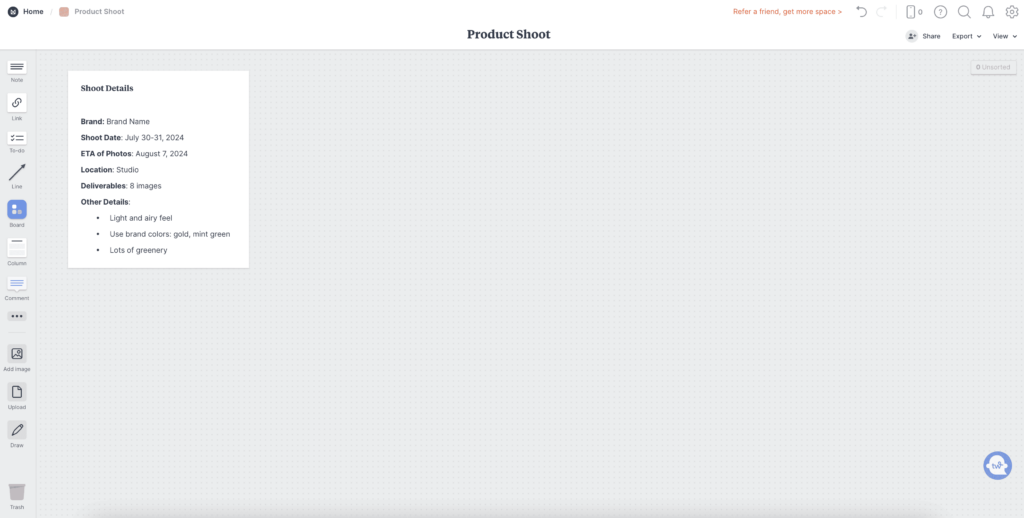
I start by compiling all the details I’ve gathered from emails, discovery calls, and client questionnaires in one easy to find place. This includes things like:
- Date of the shoot
- When the client can expect final photos
- Shoot location
- Total number of deliverables
- Colors, vibe, or any other details that I want to keep top of mind when planning the shoot
2 | Shot List
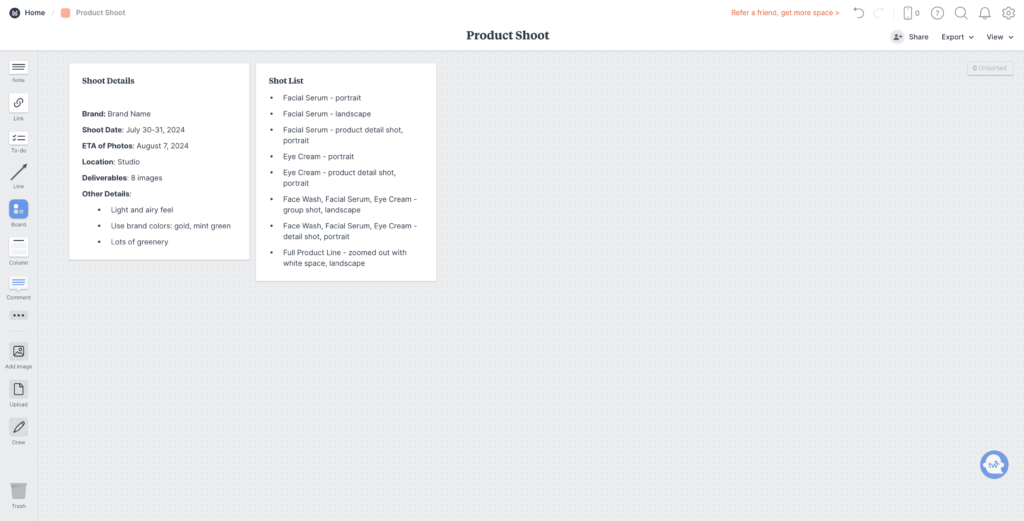
This is where I breakdown each photo in detail. If the client wants three photos of one product, I list each photo out separately. If a client wants one photo of three products together, I list that too.
Not only does this spell out in detail what each photo is of, but on shoot day I can cross each photo off as I take it.
3 | Shot Concepts
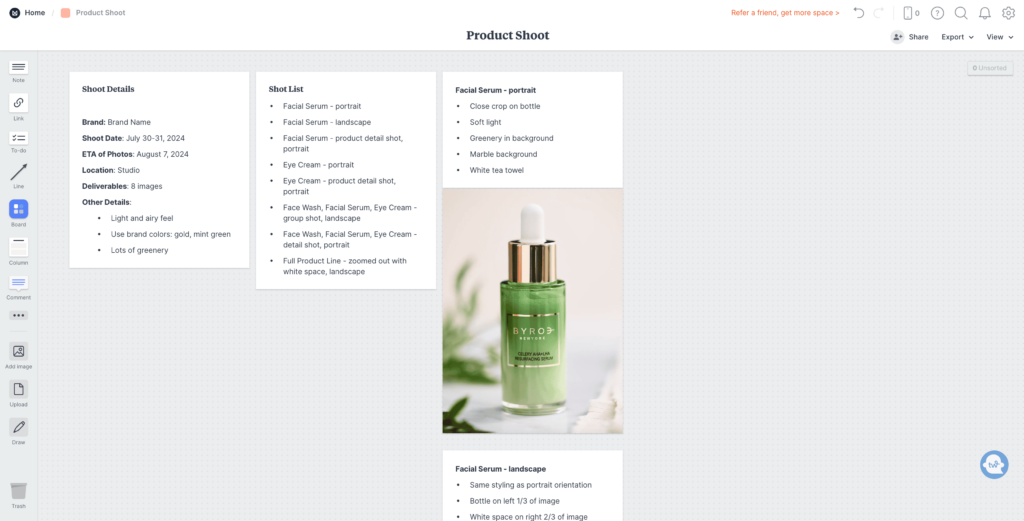
Once I have an idea of the shot list, I can start planning each individual photo.
I’ll create a separate board for each photo on the shot list, making notes about props, lighting, colors and orientation. I’ll also include a reference photo that encapsulates the feel that I’m going for.
I don’t take these inspiration photos literally (and I don’t ever recommend ripping off someone else’s work), but I do like to use them to give the client an idea of what their photo will loosely resemble.
4 | Prop List
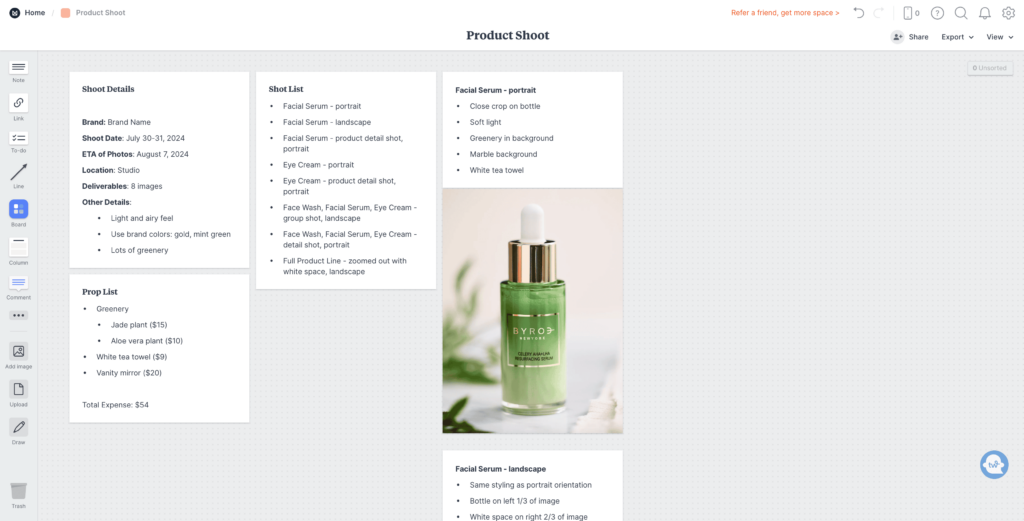
After each shot has been planned out, I go back through the notes and start compiling a list of props I’d like to use.
Beside each prop, I include a link to the item I’ll need to buy and what it costs. Since the client purchases the props, I find that this helps them pare down the prop list, select prop alternatives, or adjust the shot concept, if needed.
If I already own a prop, I’ll include a link and a note saying that it’s already in my collection (and therefore free).
5 | Backgrounds
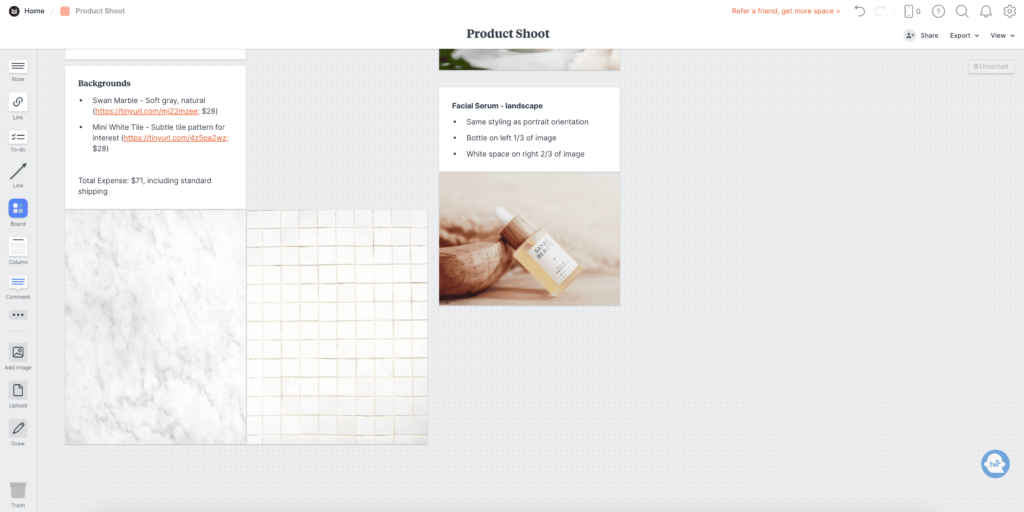
Lastly, I’ll include a list of background options. Just like with the prop list, I link the item and show the price so the client can budget accordingly. I also like to show a picture of the backgrounds together so the client can see how they’ll pair together and envision the final photos.
